
The Complete Guide to Insulation Estimation and R-Value Targets
Whether you are undertaking a massive whole-home renovation, finishing a cold, uninsulated basement, or simply blowing fresh cellulose into an aging attic before winter arrives, insulation is arguably the most crucial material for long-term home comfort and permanent energy savings. However, buying the correct amount of material is notoriously tricky. If you estimate your material needs purely based on the raw, empty footprint of your room, you will inevitably over-purchase material because you forgot to account for the physical space taken up by the dense wooden framing structure.
Conversely, purchasing too little material means your thermal envelope will remain compromised, allowing hundreds of dollars in heating and cooling costs to escape through your roof every single year. This calculator and comprehensive professional guide will help you determine two critical things: exactly how much Net Area you need to physically cover, and exactly how thick your chosen material must be to hit your local building code's demanded R-Value.
1. Calculating Your True Coverage Area
One of the most common beginner mistakes in DIY insulation is measuring a 10x10 wall (100 square feet) and buying exactly 100 square feet of fiberglass rolls. Insulation is meticulously installed between the structural joists or wall studs. It does not—and should not—cover the solid wood framing itself.
Because standard residential timber framing (such as heavy 2x4 studs spaced 16 inches on center, along with top plates and bottom plates) takes up substantial physical space within the wall cavity, you must intentionally subtract a mathematical framing factor.
The 10% Framing Rule
When strictly ordering fiberglass batts, rolls, or rigid foam board, professionals always subtract 10% from their net square footage. If you have 400 square feet of hollow wall space (measured after carefully subtracting massive voids like doors and sliding windows), you actually only need about 360 square feet of physical insulation material. Buying the raw 400 sq ft will unnecessarily leave you with an entire extra bag of unused, highly bulky fiberglass to store or return.
2. Wall vs. Attic Insulation Strategy
Where you are installing the insulation dictates not only your material choice but your overriding R-Value target. The physics of heat transfer operate differently on a vertical plane (walls) versus a horizontal plane (ceilings).
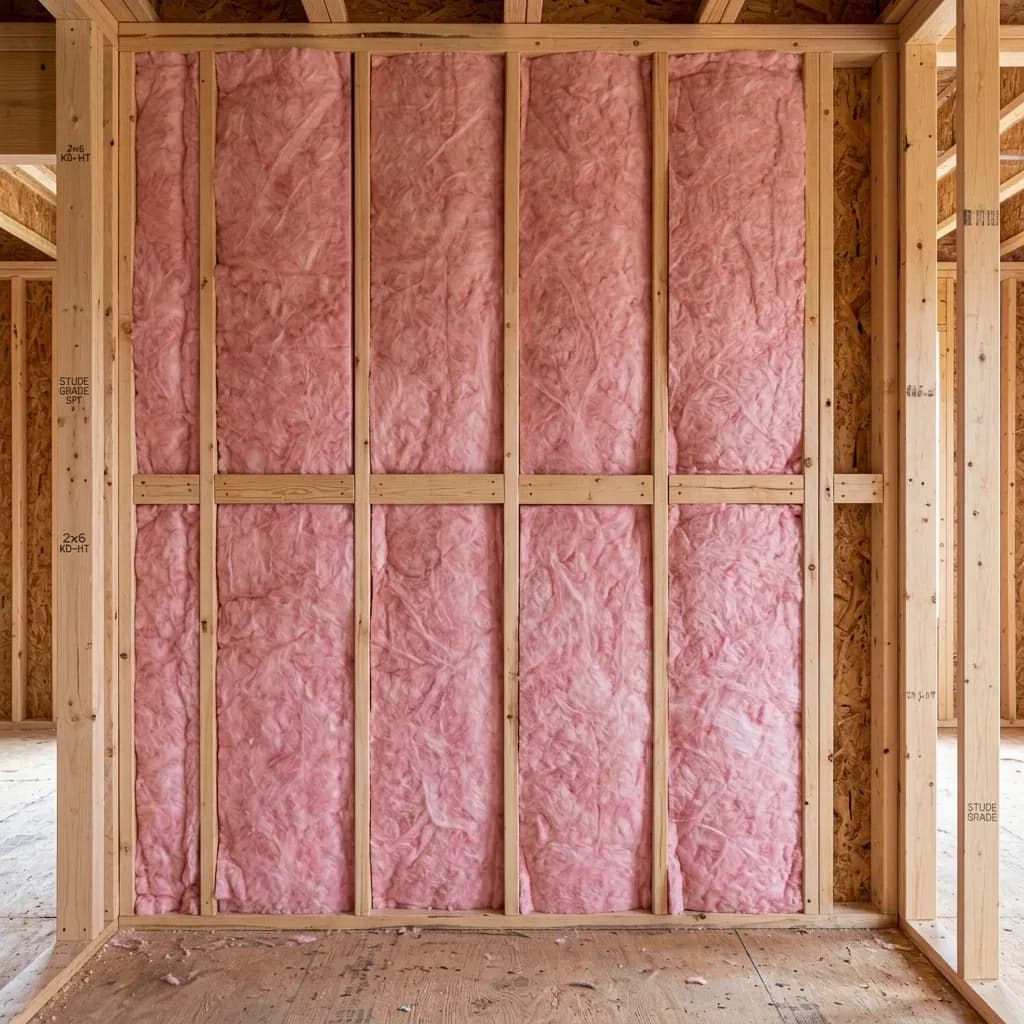
- Wall Insulation: You are confined strictly to the depth of the enclosed wall cavity. For a home framed with 2x4s, you only have 3.5 inches of usable depth. For 2x6 walls, you have 5.5 inches. Because of this rigid physical restriction, you are limited in what R-Value you can achieve without upgrading to extremely expensive high-density spray foams. Standard targets for standard framing are R-13 to R-21.
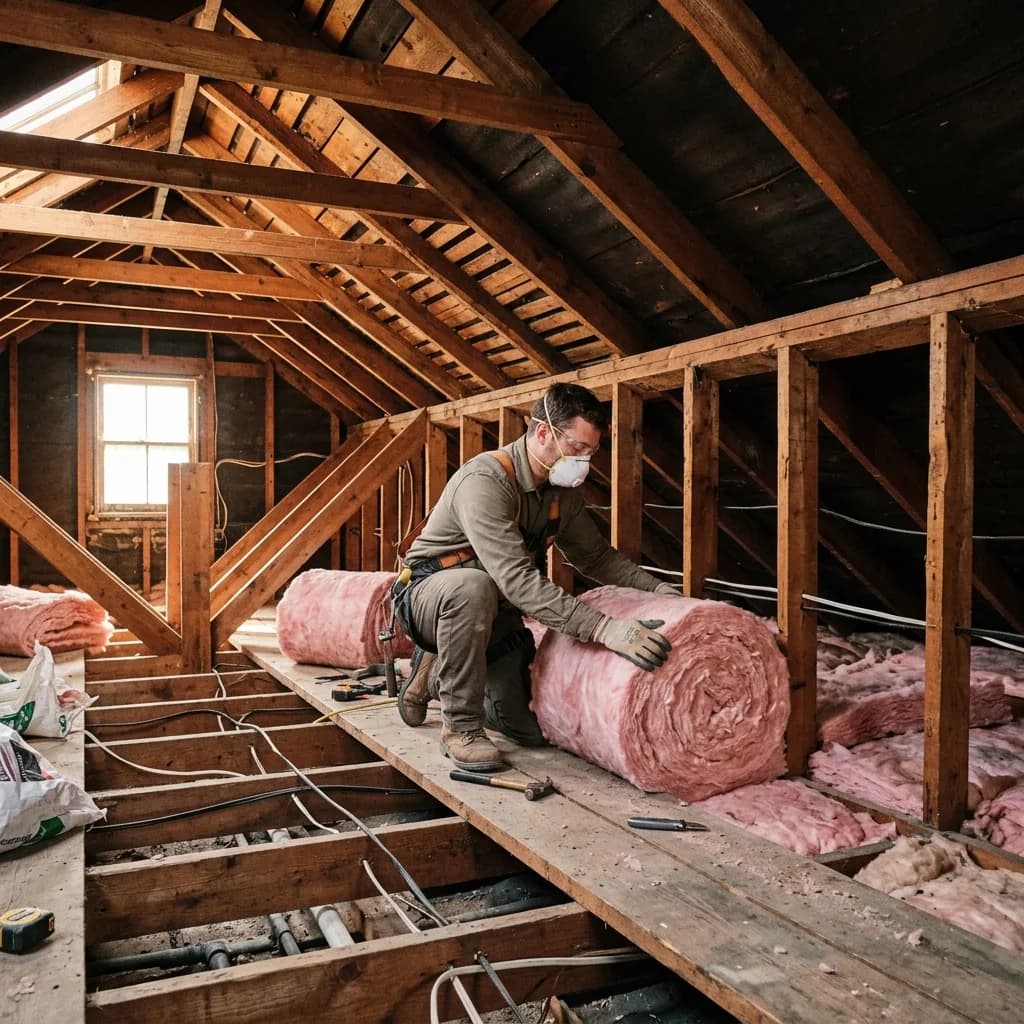
- Attic Insulation: Heat rises aggressively during the freezing winter. Your attic serves as your home's primary, heavy-duty line of defense against staggering energy bills. Because unfinished attics have largely open vertical space above the ceiling drywall, you can pile loose or rolled insulation as incredibly high as you want. Standard targets recommended by the Department of Energy for attic floors typically range from a minimum of R-38 all the way to R-60 in northern climates.
3. Material Types and R-Value Density
The sheer volume of material you need depends entirely on its inherent, chemical thermal resistance, standardly measured in R-value per inch.
| Material Type | Avg R-Value per Inch | Best Professional Use Case |
|---|---|---|
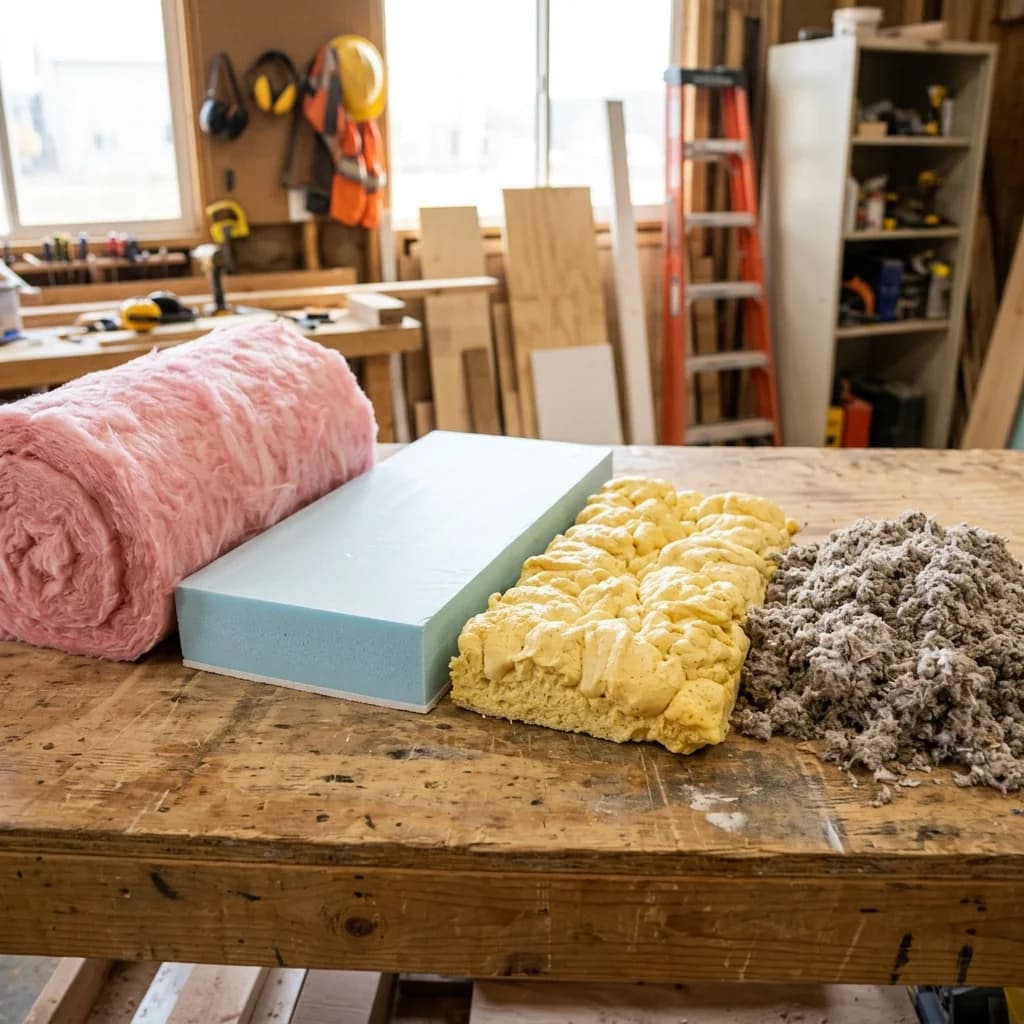
| Fiberglass Batts & Rolls | R-3.1 to R-3.4 | Standard open wall cavities. Extremely excellent for budget-conscious DIYers because no special equipment is required to install. |
| Blown-in Cellulose | R-3.2 to R-3.8 | Attic floors and retrofitting older hollow walls. Fills irregular gaps, wires, and complex plumbing pipes perfectly. |
| Rigid Foam Board (XPS/EPS) | R-4.0 to R-6.5 | Basement cinderblock walls, foundations, and modern exterior continuous sheathing systems. Highly moisture resistant. |
| Closed-Cell Spray Foam | R-6.0 to R-7.0 | Complete, waterproof air-sealing in hard-to-reach or thin structural cavities like vaulted roofs or rim joists. |
Required Thickness Calculation
If targeting a massive R-49 using standard Blown Cellulose (approx. R-3.5/in), you divide 49 by 3.5.
Result: You logically need a literal depth of exactly 14 solid inches of blown cellulose across your entire attic to achieve code-compliant status.
4. Don't Forget the Vapor Barrier
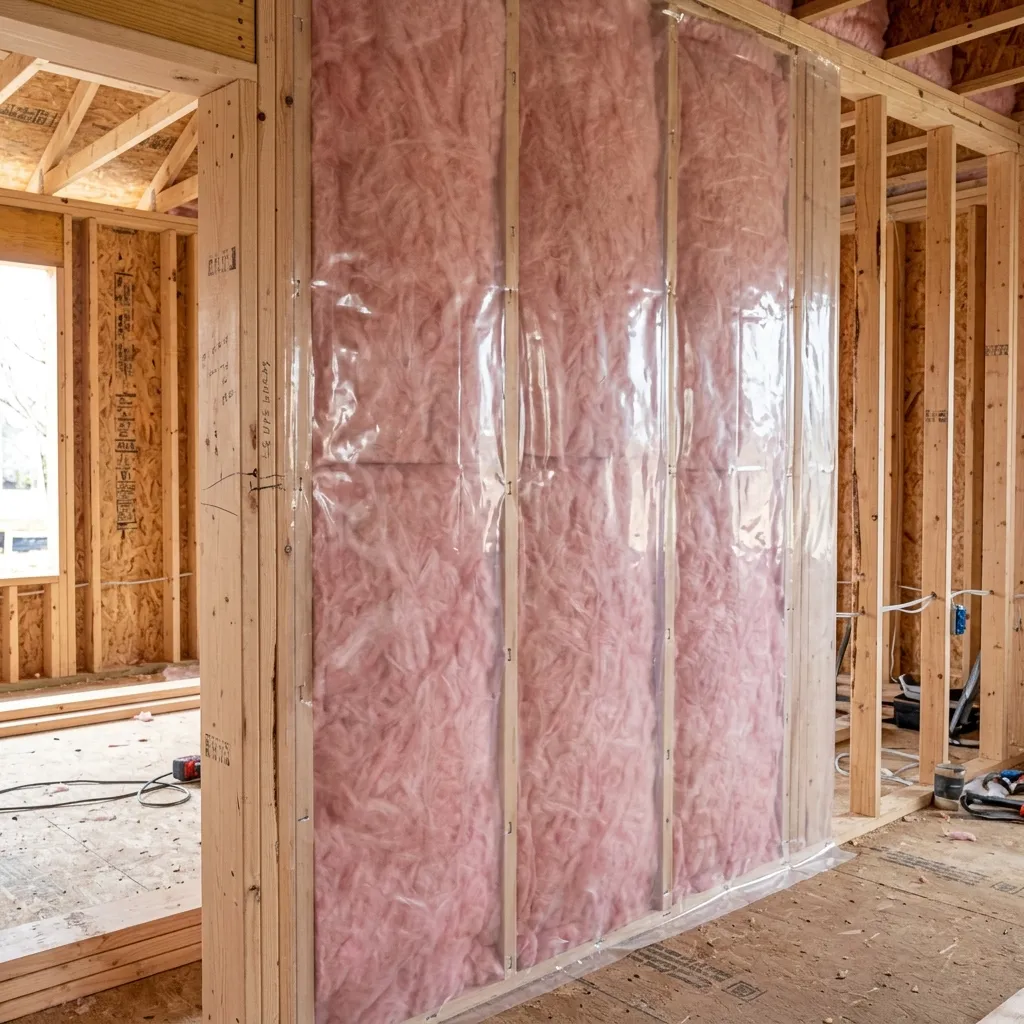
A deeply insulated wall is utterly useless if moisture and unchecked condensation are allowed to rot the framing from the inside out. In predominantly cold climates, a vapor barrier (like 6-mil polyethylene plastic or the kraft-paper facing attached directly to fiberglass rolls) must be installed tightly on the warm side of the insulation (directly behind your interior drywall).
This completely prevents warm, moist indoor air from penetrating deep into the freezing wall cavity, rapidly condensing into water, and heavily saturating your expensive insulation, which destroys its R-value instantly and breeds black mold.
5. Critical Safety When Handling Insulation
Never perform DIY insulation without stringent safety gear. Fiberglass batts launch millions of microscopic glass shards into the air when torn, which can severely irritate your lungs and eyes. Always wear a high-quality N95 respirator mask, fully sealed safety goggles, long sleeves, heavy gloves, and long pants. Once the job is perfectly completed, take a cold shower first to forcefully close your skin's pores and wash the fiberglass away before switching to warm water.
Remember, for the absolute most accurate mathematical calculation, rigorously measure your large doors and windows when estimating complex exterior walls. If you are specifically buying a liquid-expanding material like professional spray foam or a compacted bale material like organic cellulose, you must consult the manufacturer's specific bag footprint "yield coverage" charts utilizing the precise Net Coverage Area heavily provided by our powerful calculator above.
Understanding R-Value ratings?
Read our comprehensive, expert-reviewed guide: Understanding R-Value and Home Insulation.
Disclaimer: The required thickness and net area yields provided by this calculator are estimates based on standard building practices and generic material R-values. Actual material performance and framing footprints will vary depending on your chosen manufacturer and local architectural codes. Always consult with a licensed contractor or energy auditor before finalizing major purchases.