Reading Blueprints: How to Extract Accurate Site Measurements
A comprehensive Blueprint Measurement Guide for DIYers. Learn how to find the exact length, depth, and volume requirements for your construction calculators.

For many DIY homeowners, opening a set of architectural blueprints for the first time feels like looking at a foreign language. The lines, symbols, and abbreviations are intimidating, yet these documents hold the key to a successful project.
If you're using our Construction Calculators, the accuracy of your results depends entirely on the "input" numbers you extract from these plans. A misread dimension of just a few inches can lead to ordering too much concrete or, worse, not enough lumber for a structural wall.
This Blueprint Measurement Guide will teach you how to navigate a set of plans and find the exact numbers you need to complete your estimates with confidence.
1. The Foundation: Understanding Scales
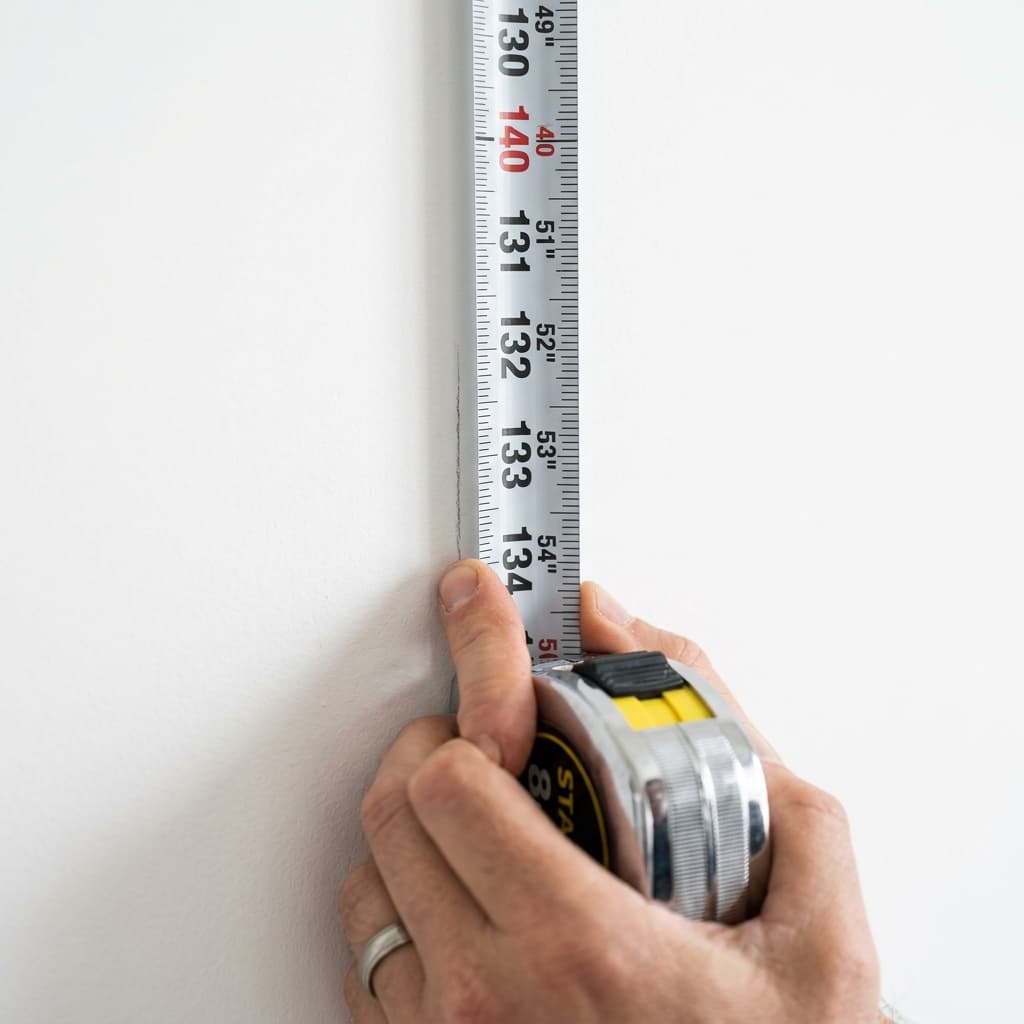
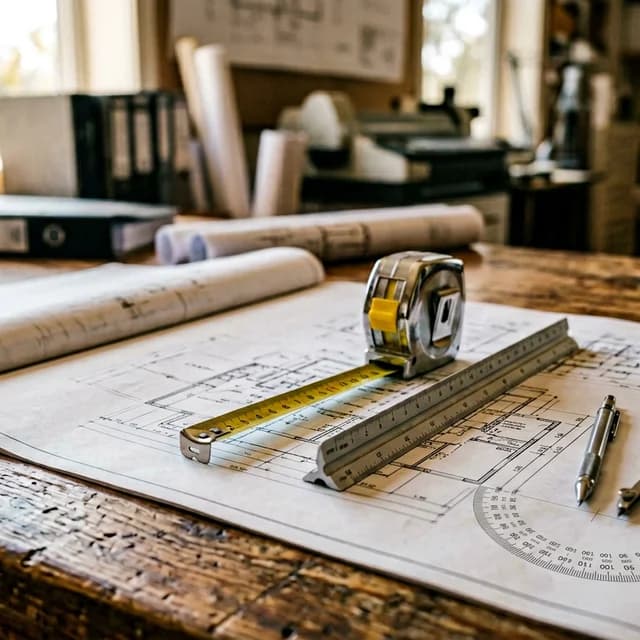
Blueprints are drawn at a specific ratio, or "Scale." You cannot simply put a standard tape measure on the paper and read the inches.
Look for the scale indicator, usually found in the title block at the bottom-right of the sheet or directly beneath the drawing title (e.g., "SCALE: 1/4\" = 1'-0\"").
- 1/4" Scale: Every quarter-inch on the paper represents one foot in the real world.
- 1/8" Scale: Common for site plans or large floor plans. Every eighth-inch equals one foot.
DIY Tip: While an "Architect's Scale" ruler is the best tool, if you're in a pinch, you can use a standard ruler. In 1/4" scale, 1 inch on the page equals 4 feet on the ground.
2. Deciphering Dimension Lines
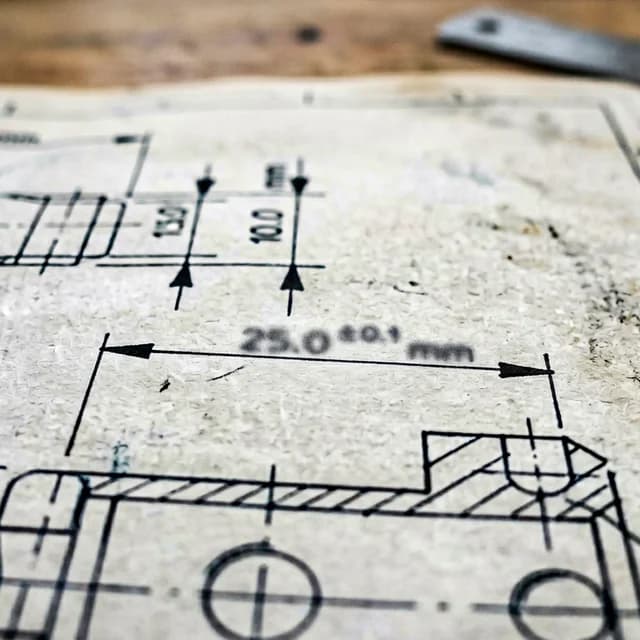
The most important numbers for your calculators are found on Dimension Lines. These are thin lines that sit outside the actual house walls, ending in "hash marks" or arrows that point to the specific measurement.
Dimensions are typically written in Feet-Inches. For example, 12'-6" means twelve feet and six inches.
- External Dimensions: Show the total footprint of the building. Use these for your Area & Perimeter Calculator.
- Internal Dimensions: These measure from the "face" of one wall to the face of another. This is the number you need for flooring or Room Volume estimates.
- Centerline Dimensions: Often used for plumbing or window placement, measuring to the exact middle of an object. Be careful not to use these for total floor area!
3. Reading the "Legend" and Symbols
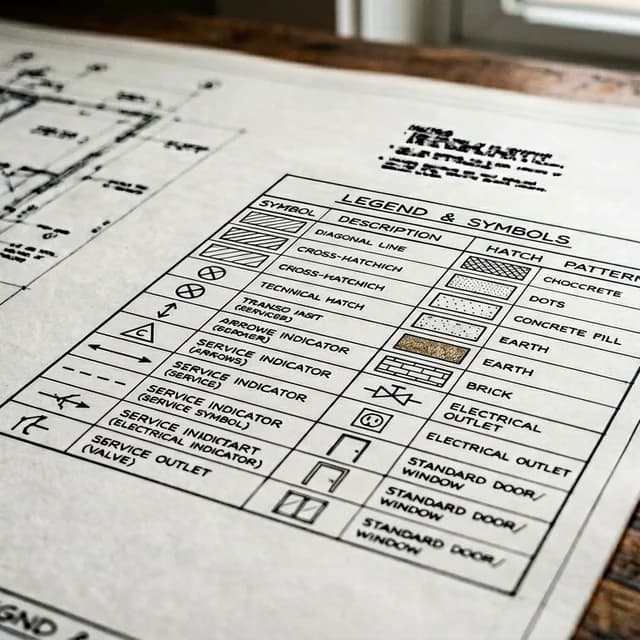
Every set of plans includes a Legend—a key that explains what the various hatches and lines represent.
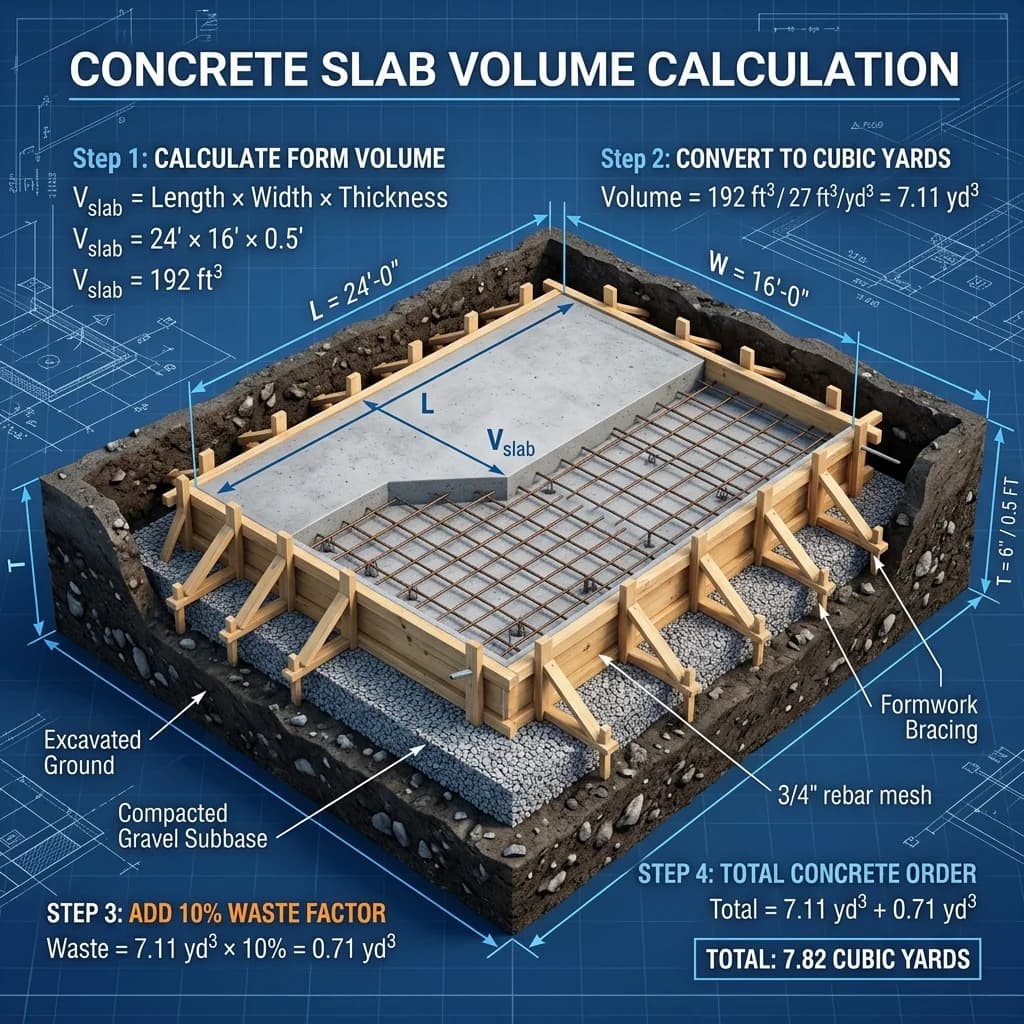
When you're calculating materials, pay close attention to wall types. A "stipple" or "dotted" hatch often indicates concrete, while diagonal lines might indicate a wood-frame wall. This is critical when switching between the Concrete Slab Calculator and a lumber estimator.
4. Extracting the "Hidden" Numbers
Not every number is written on the floor plan. To find "Height" or "Depth"—the third dimension needed for volume—you must look at the Elevations and Cross Sections.
- Elevation Views: Show the house from the outside. Use these to find wall height for your Wall Square Footage Calculator.
- Detail Sections: Imagine the house has been sliced in half. These drawings show the "thickness" of slabs and the "depth" of footings.
The Golden Rule: Verify in the Field
Plans show how the building *should* be, but the real world is messy. Once the foundation is poured or the walls are framed, always take a physical "field measurement" before ordering finish materials like hardwood or tile. Accuracy is cheap; mistakes are expensive.
5. Never scale a drawing that carries a written dimension
This is the rule that separates people who read plans for a living from people who guess. If a dimension is printed on the drawing, that number wins — always — even when your ruler disagrees with it. Written dimensions are what the designer intends and what the building inspector checks. Scaling is a last resort for information nobody wrote down.
The reason is that paper lies. A full-size architectural sheet is 24x36 or 22x34 inches, and the set you were handed has very likely been printed half-size onto 11x17 to save money. On a half-size print, a drawing labelled 1/4 inch scale is physically at 1/8 inch scale, so everything you measure comes out at exactly double the real dimension. Plans emailed as PDFs and printed with "fit to page" enabled are worse, because the distortion is not even a round number.
| Drawing scale | 1 inch on paper equals | Typically used for |
|---|---|---|
| 1/8" = 1'-0" | 8 feet | Site plans, large floor plans |
| 1/4" = 1'-0" | 4 feet | Standard residential floor plans |
| 1/2" = 1'-0" | 2 feet | Enlarged plans, kitchens, baths |
| 3/4" = 1'-0" | 16 inches | Wall sections and construction details |
6. Check that the dimension string adds up
Along any wall you will usually find a chain of smaller dimensions and, outside it, one overall dimension. Add the chain up. If the individual numbers do not total the overall, the drawing contains an error, and you have just found it before it cost you a delivery.
A worked example. You measure a bedroom off a plan as a chain of 2'-0", 10'-4", and 2'-0", with an overall of 14'-6". The chain totals 14'-4", two inches short. Somewhere a partition thickness or a closet return has been mislabelled. Two inches sounds trivial until it moves a doorway or leaves you two tiles short across the room.
Also confirm what the dimension is measured to. Framers dimension to the face of stud, so a room labelled 12'-0" is 12 feet of framing. Once half an inch of drywall goes on each side, the finished room is 11'-11". Order flooring against the framed number and you will be a strip over; order drywall against the finished number and you will be a sheet short. For flooring, tile, and paint, take the finished dimension and verify it on site once the walls are up.
Finally, check the revision block before you order anything. Sets are reissued, and clouded areas mark what changed. Estimating from a superseded sheet is one of the most expensive mistakes on this list, because everything you calculate will be internally consistent and completely wrong.
Ready to Estimate?
Now that you've found your length, width, and height, head over to our Full Tool Library and start your estimate. By combining accurate blueprint readings with professional-grade calculators, you're taking the first step toward a flawless build.
About the Author

Hassan Baloch — An experienced Civil Engineer with more than a decade in building and structural planning. Hassan rigorously verifies the mathematical formulas and code compliance of our estimation tools to guarantee absolute precision. Contact our team for technical inquiries.